Appearance
Subjects
Subjects are the core of AireFrame, they are the entities that you record data against.
Subjects are completely configurable and can be tailored to your needs. To find out more about how to configure subjects, see the guide.
Subject Lists
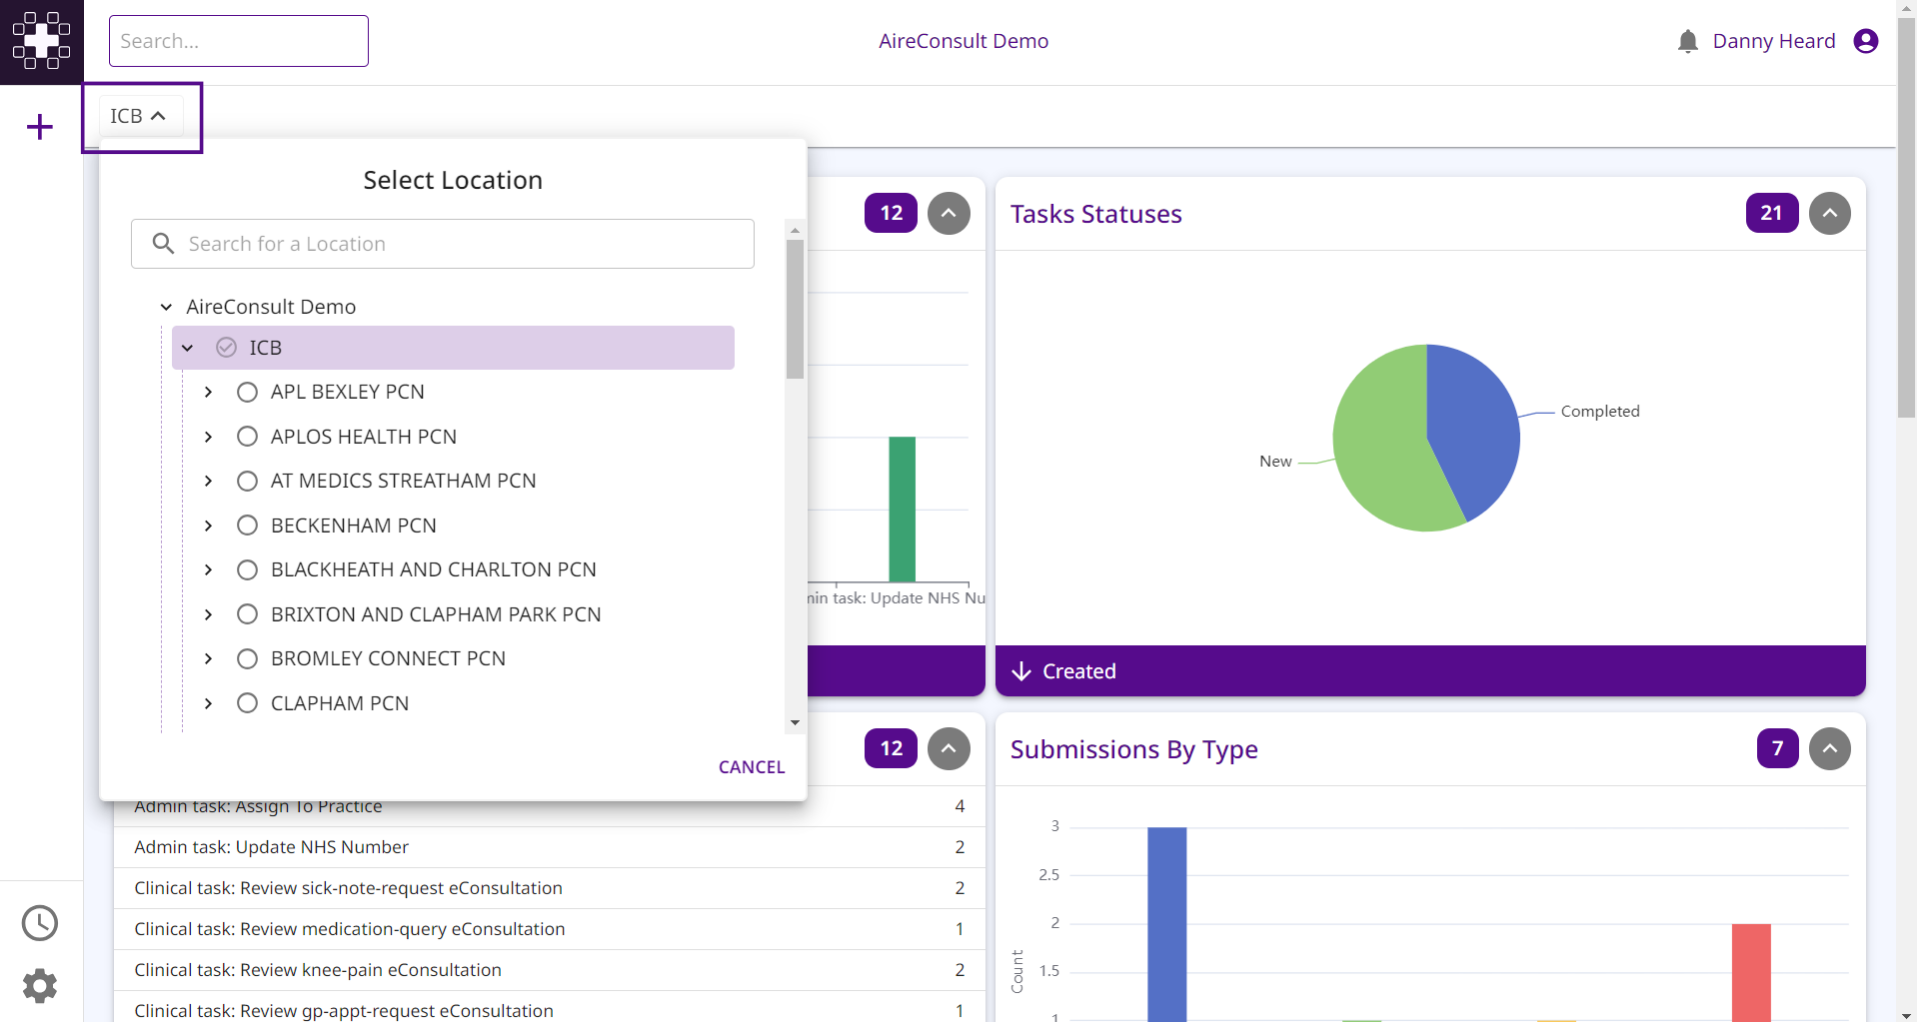
The dashboard shows a list of subjects that you have access to within a particular structural entity. The subjects are displayed in a table format with the primary field of the subject displayed in the first column. The remaining columns will display fields from widgets that have been configured to be displayed on the 'Subject List' section.
To change the structural entity, use the dropdown at the top of the page. Here you can search over the structural entities you have access to.
Preview a subject
From the subject lists you can preview a subject by holding the Ctrl key and clicking on the subject. This will open the subject in a modal on the right-hand side of the page.
Search
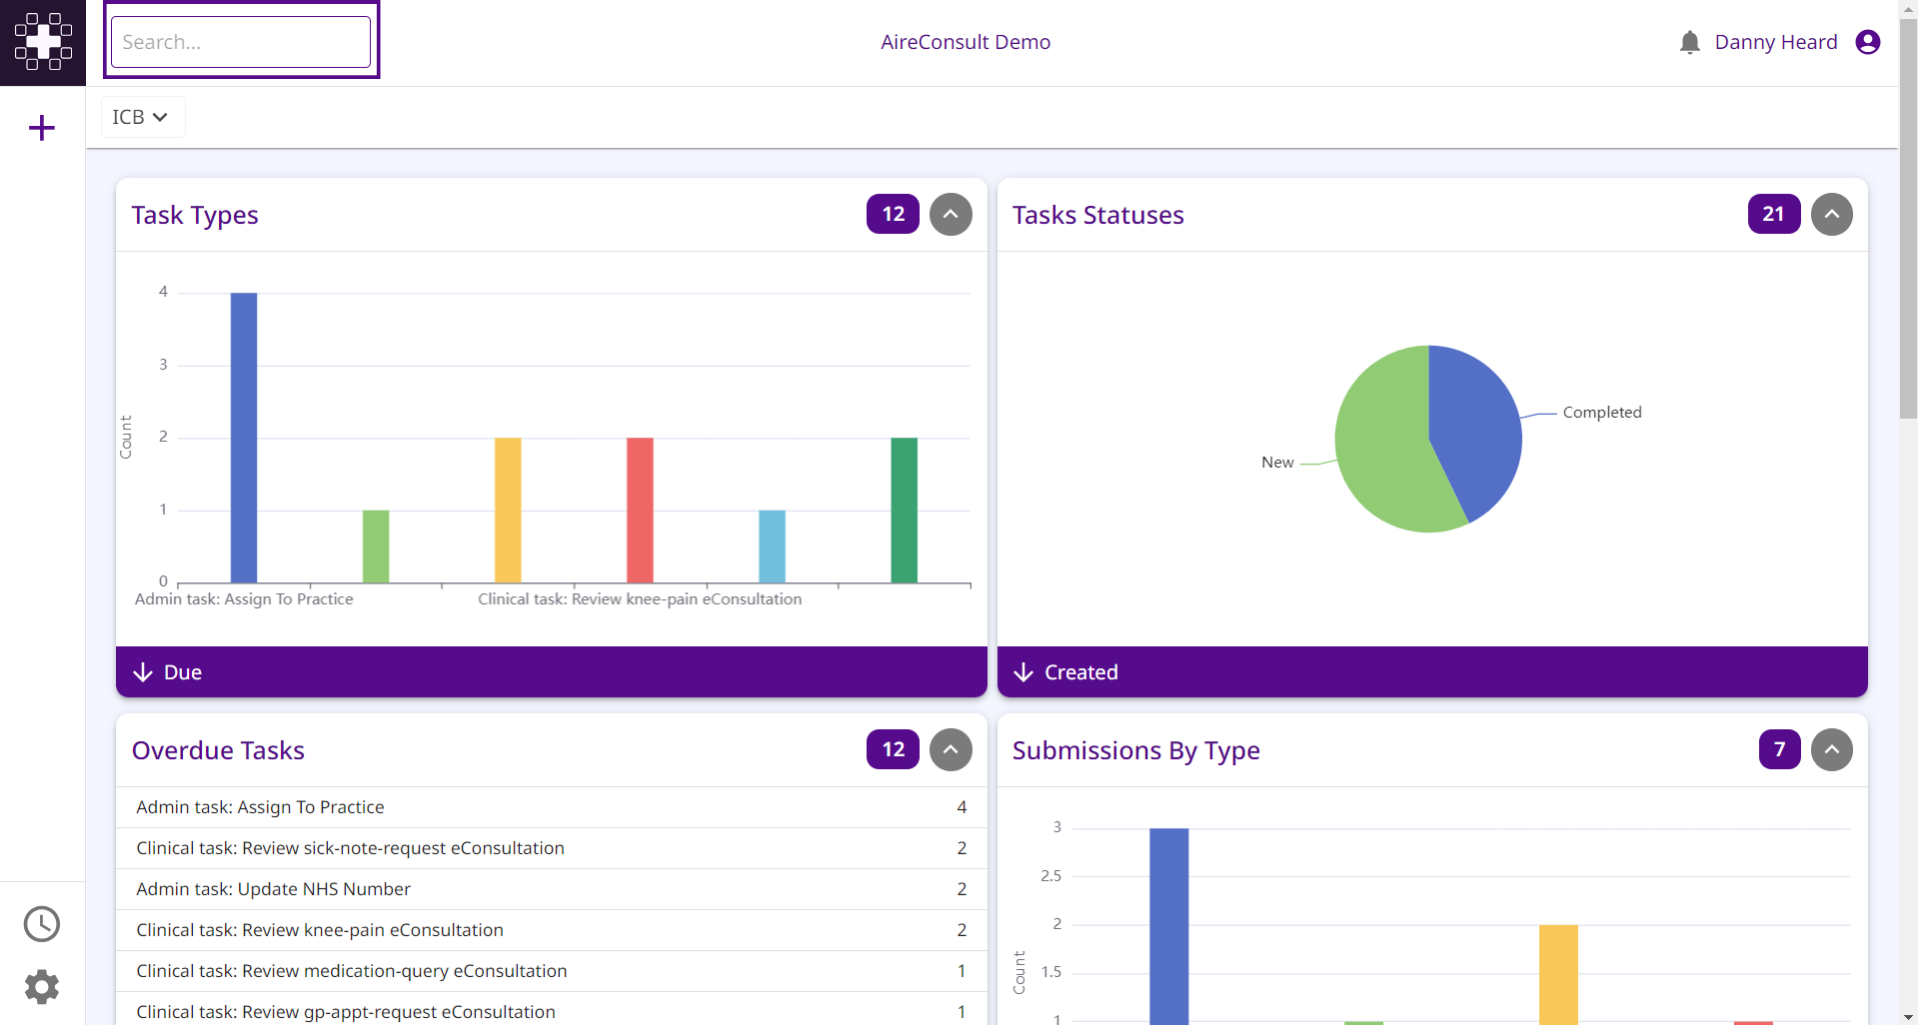
The search bar located at the top of the page allows you to search across all the subjects you have access to.
INFO
The behaviour of the search will depend on the subject provider you are using.
If you are using the internal subject provider, a fuzzy search is performed across all the subject fields (excluding computed fields).
Adding a Subject
TIP
The ability to add a subject will depend on the permissions you have been granted.
It will also only be available if the subject provider you are using provides the SubjectWrite capability
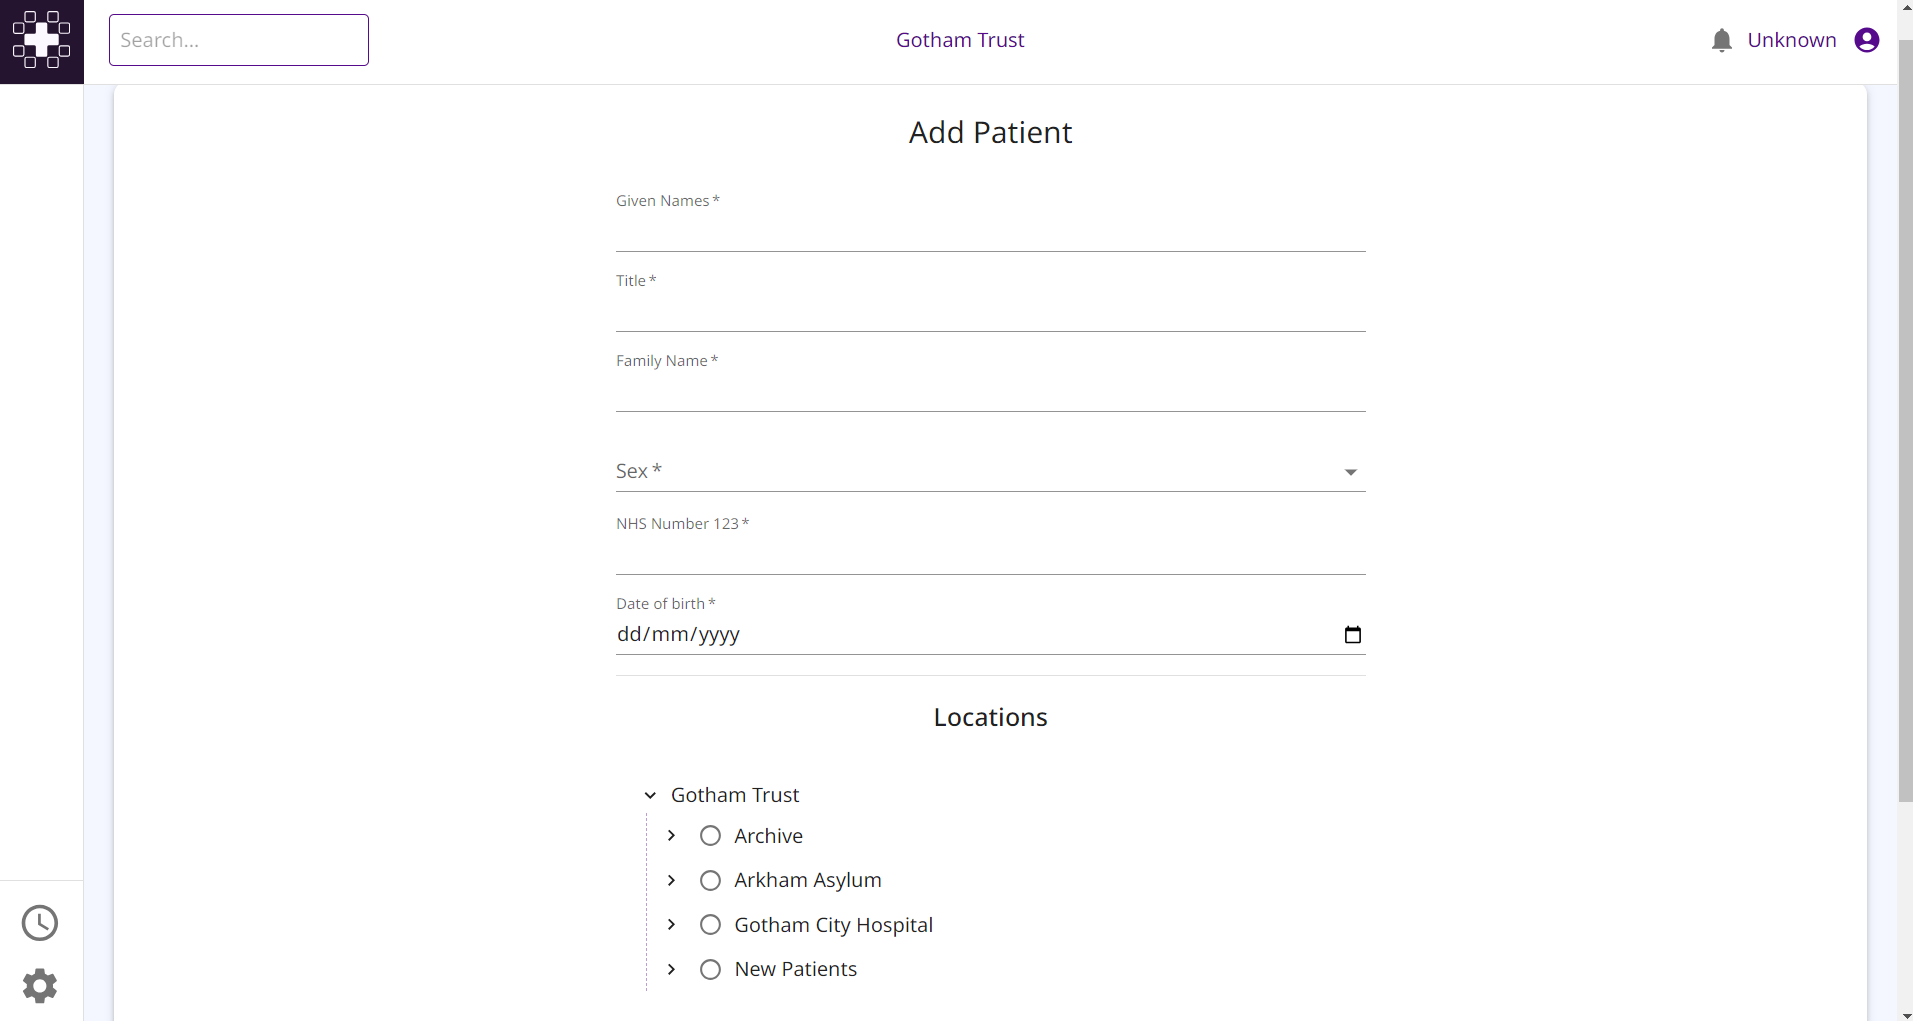
A subject can be added to the system by clicking the (+) button in the top left-hand corner of the page.

This will present you with a form to fill in the details of the subject. The fields that are displayed will depend on the configuration of the subject provider you are using.
When adding a subject you will need to select at least one structural entity to assign the subject to before you can save the subject.
Editing a Subject
TIP
The ability to edit a subject will depend on the permissions you have been granted.
It will also only be avaialable if the subject provider you are using provides the SubjectWrite capability
To edit a subject first navigate to the subject you want to edit. You can do this by searching for the subject or by clicking on the subject in the list of subjects.
Once you are on the subject page, click the edit button on the navigation bar on the left-hand side of the page.
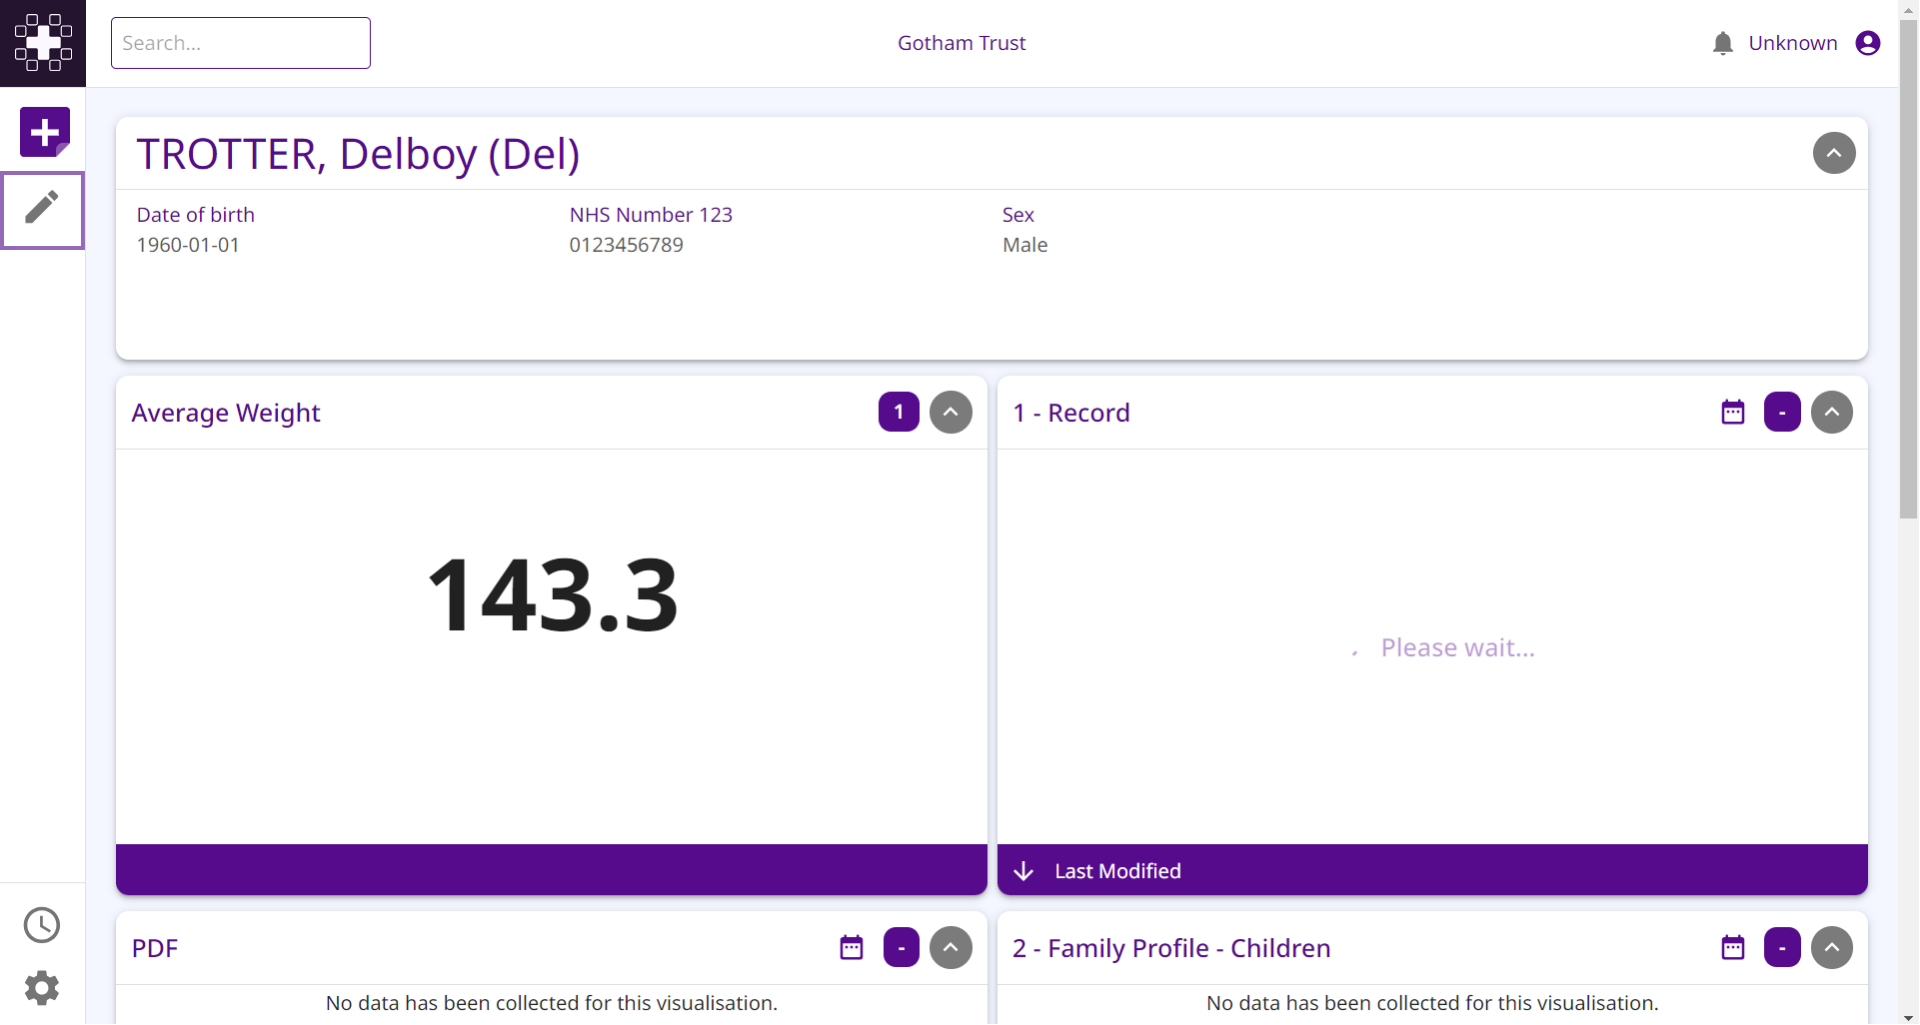
This will present you with a form to edit the details of the subject. The fields that are displayed will depend on the configuration of the subject provider you are using.
When editing a subject you will need to select at least one structural entity to assign the subject to before you can save the subject.
You can also change the structural entity assignment of the subject on this page.
Note
The structural entity assignment will take place immediately on clicking a structural entity. It does not require the subject to be saved.
Inviting a Subject to the portal
TIP
You must have enabled the portal feature in the subject configuration to use this feature. See the guide here.
The View:SubjectAccessInvite permission is required
To invite a subject to access the portal, go to the subject you want to invite and click the subject access settings button.
Depending on the portal configuration, you will see different invite options.
Self-Access
If self-access is configured for the portal, you will see the current invite status of the subject.
Missing Value
You will not be able to invite the subject until you have provided a value for the field via the edit subject page.
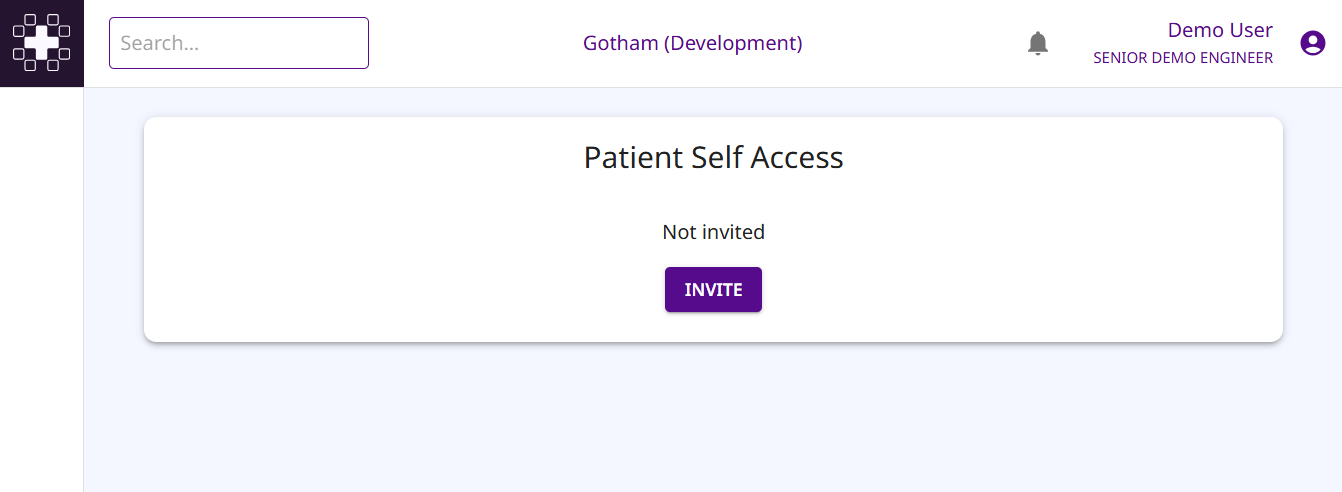
Not Invited
You will be able to invite the subject by clicking the invite button.
Required permission: Create:SubjectAccessInvite
Invited
If you have the Delete:SubjectAccessInvite permission you will be able to remove the subject's access to the portal.
If you have the Create:SubjectAccessInvite permission you will be able to re-invite the subject if they have not yet logged in.
Third-Party Access
If third-party access is configured for the portal, you will see a list of users that have been invited to access the portal for the selected subject.

If you have the Delete:SubjectAccessInvite permission you will be able to remove the users's access to the portal for the selected subject.
If you have the Create:SubjectAccessInvite permission you will be able to re-invite the user if they have not yet logged in.
To invite another third-party user to access the portal for the subject, click the invite button and enter the email address of the user you want to invite. This requires the Create:SubjectAccessInvite permission.